
# Creating your first project
Now that you have all the dependencies for Apostrophe installed, you can create your first project!
# Generating a test project
Create a new project with the Apostrophe CLI tool (opens new window):
# Create a project
apos create test-project --a2
With the project created, you should install the dependencies and start the server. You'll also be prompted to create a password. Make sure you don't forget it --- you'll need it in a minute.
# cd into the new project
cd test-project
# Install our dependencies (most notably, Apostrophe)
npm install
# Add an admin user to the admin group; prompts for password
node app.js apostrophe-users:add admin admin
# Go go go!
node app.js
You have a test project up and running! Visit http://localhost:3000 and view your site. You'll see a very simple home page... too simple! We'll fix that in a moment by adding more page types and some editable areas.
TIP
Did you get a "Permission Denied" error? On Linux, this would be because global npm packages must be installed as root in a typical setup. Use sudo npm install instead. On a Mac, this shouldn't happen if you installed node with Homebrew, because the /usr/local folder where Homebrew keeps its files should belong to your personal account. However, if you installed Homebrew with sudo, you'll need to be consistent and use sudo here too.
Important: ** test-project is the name for our example. For your project use your own project's "shortname" containing only letters, digits, hyphens and/or underscores. It will be used by default as a MongoDB database name and a basis for cookie names, etc.** (Hyphens seem more popular than underscores for such purposes.) We'll continue to use test-project for the rest of this example.
Alternatively, you can install a robust, themed, fully-baked project with this command:
apos create test-project --starter https://github.com/apostrophecms/apostrophe-open-museum
This will download a fully functional Apostrophe application codebase. Please note that while the Open Museum codebase does power the official demo (opens new window), the demo's uploaded assets and database are not included when using it as a boilerplate. The demo website is the best place to test out an Apostrophe website with completed content.
# Logging in
Next, you should sign on to the site:
In your browser, go to
http://localhost:3000/login.Log in with the credentials you just set up.
- Username:
admin - Password:
I told you not to forget it, didn't I?
- Username:
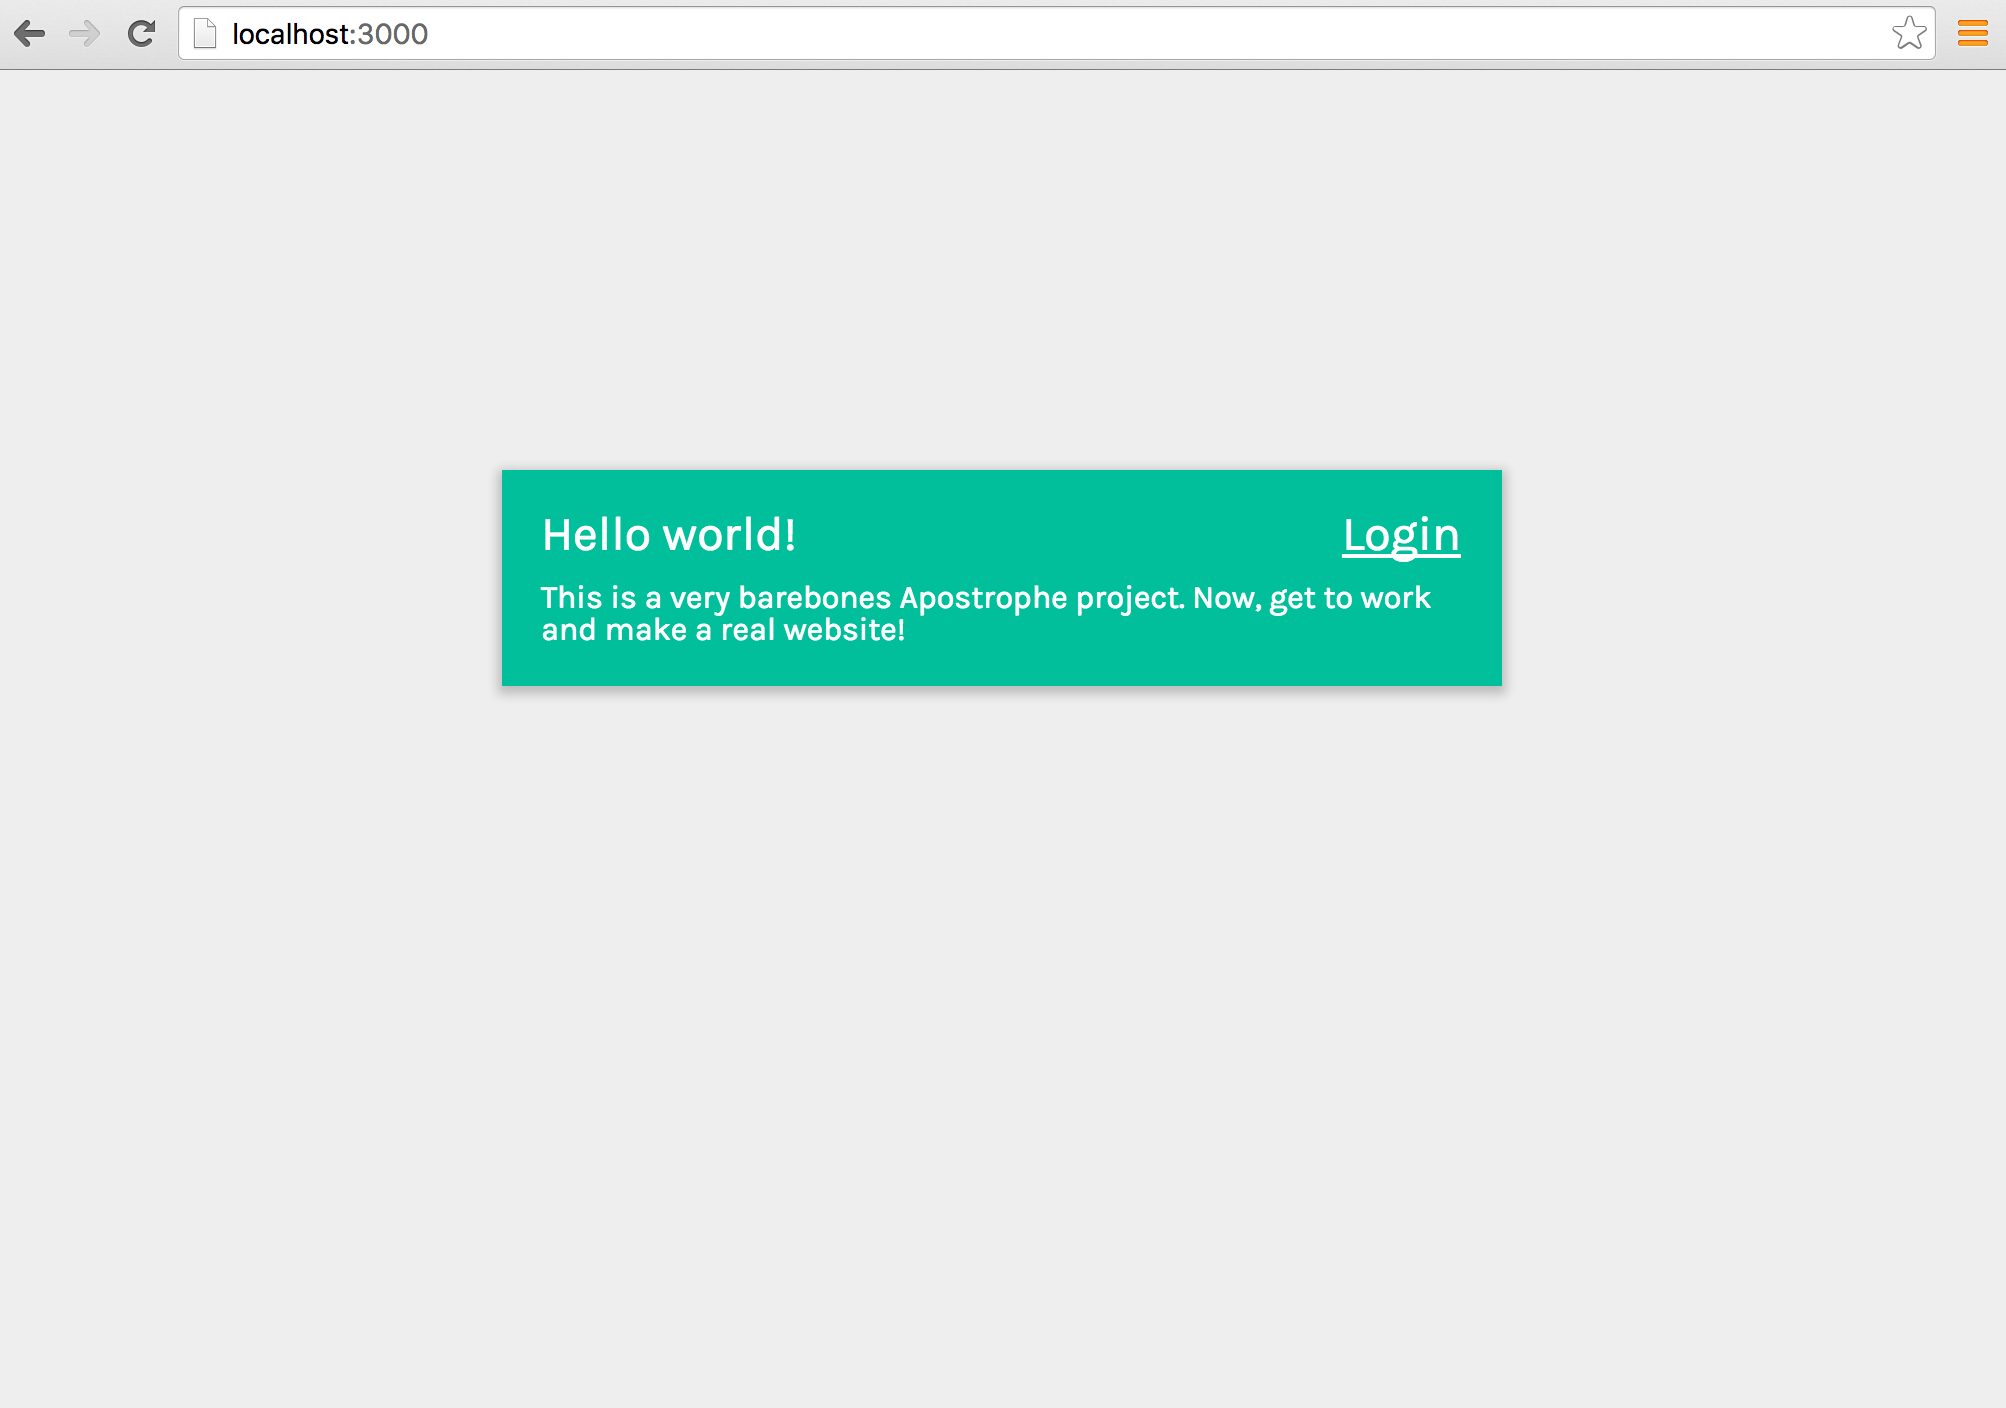
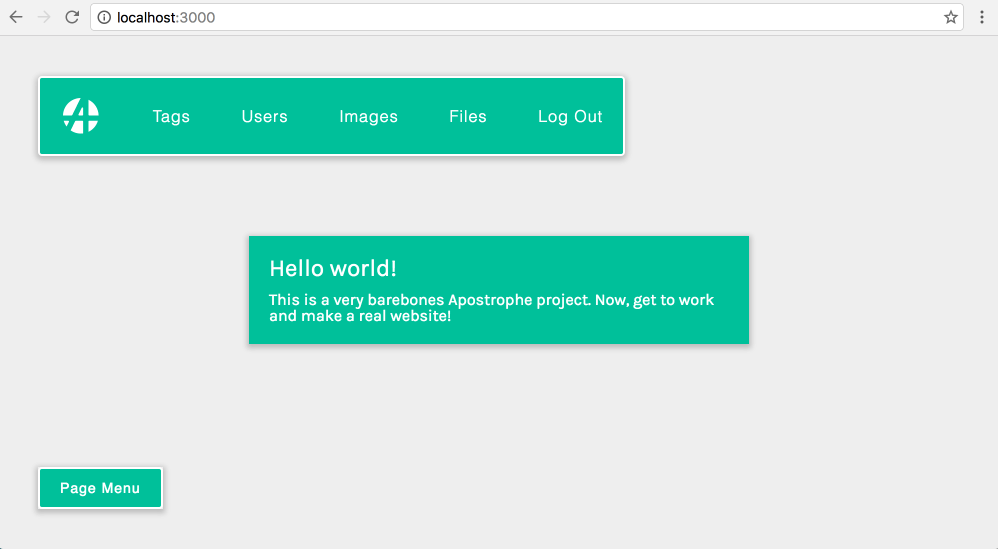
Once logged in, we are redirected to the home page once again, but with two additional elements present: an admin bar floating over the top left of the page and a page menu floating over the bottom left.
# Adding a content area
Now let's make it more interesting! Add an editable content area to the page.
Open
lib/modules/apostrophe-pages/views/pages/home.htmlin your text editor.Replace the existing contents with the following code to add an
apos.areacall:
{% extends "layout.html" %}

{% block title %}Home{% endblock %}
{% block main %}
  <div class="main-content">
    <h3>Hello world!
      {% if not data.user %}
        <a class="login-link" href="/login">Login</a>
      {% endif %}
    </h3>
    <p>This is a very barebones Apostrophe project. Now, get to work and make a real website!</p>
    {{ apos.area(data.page, 'body', {
      widgets: {
        'apostrophe-images': {
          size: 'full'
        },
        'apostrophe-rich-text': {
          toolbar: [ 'Styles', 'Bold', 'Italic', 'Link', 'Unlink' ],
          styles: [
            { name: 'Heading', element: 'h3' },
            { name: 'Subheading', element: 'h4' },
            { name: 'Paragraph', element: 'p' }
          ]
        }
      }
    }) }}
  </div>
{% endblock %}
Using the default configuration, you may be able to see the changes right away by refreshing the page, if not, you can restart your site manually or use nodemon to watch project files.
# Restarting your site
To restart your site,
- Press "Control-C" in the terminal window where
node app.jsis running. (You need to leave it running as long as your site is up. In production, there are other ways, which we'll cover later.) - Run
node app.jsagain (tip: just press the up arrow, then enter). - Refresh the browser.
# Use Nodemon to watch file changes
To avoid manual restarting in the future, you can use Nodemon (opens new window) to watch project files.
- Run
npm install -g nodemonto install it globally. - Run
nodemonfrom your project root folder to start your site with watching enabled.
TIP
When running nodemon from the project root, you don't need to provide any target or arguments. It will start app.js automatically by default. The configuration is found in package.json which was created when you installed the apostrophe-cli tools. You can adjust these settings to your needs.
Now, every time you change a file in your project, Nodemon will restart your application.
# Working with areas
Hey, what's this new button about?
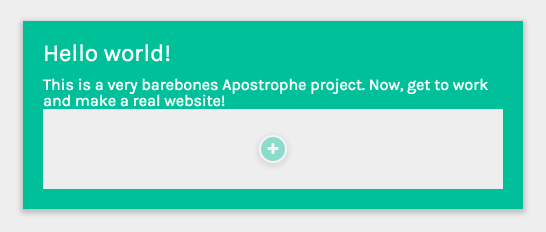
Let's add some rich text and media to the page.
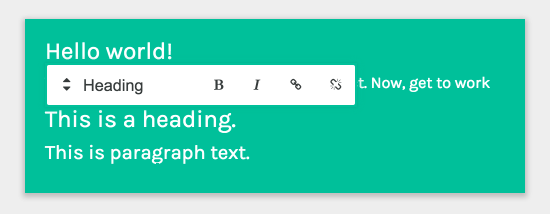
Click the "+" sign and pick "rich text." You're presented with a friendly editor:
Edit as you see fit and refresh your page. Notice that your changes have already been saved. There is no save button because saving is automatic.
To add a slideshow click outside the rich text editor and you'll see two new "+" signs: one above the text and one below it.
Click either one and pick "Image(s)", and you'll see the image library, which is initially empty:

Click the "New Image" button at upper right and you'll see:
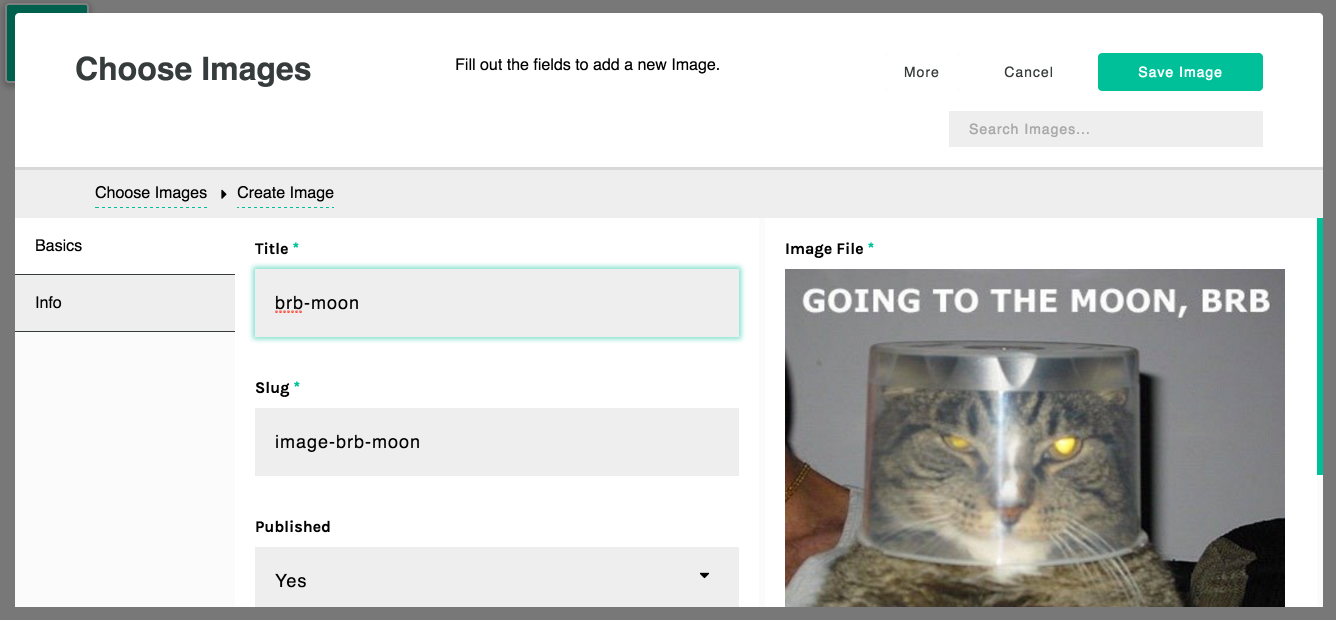
Click "Upload File" to pick a GIF, JPEG or PNG file to upload from your computer.
Fill out the title field, and click "Save Image."
Click "New Image" again and upload a second file, fill out the title field, and save.
Next check the box next to each of them:
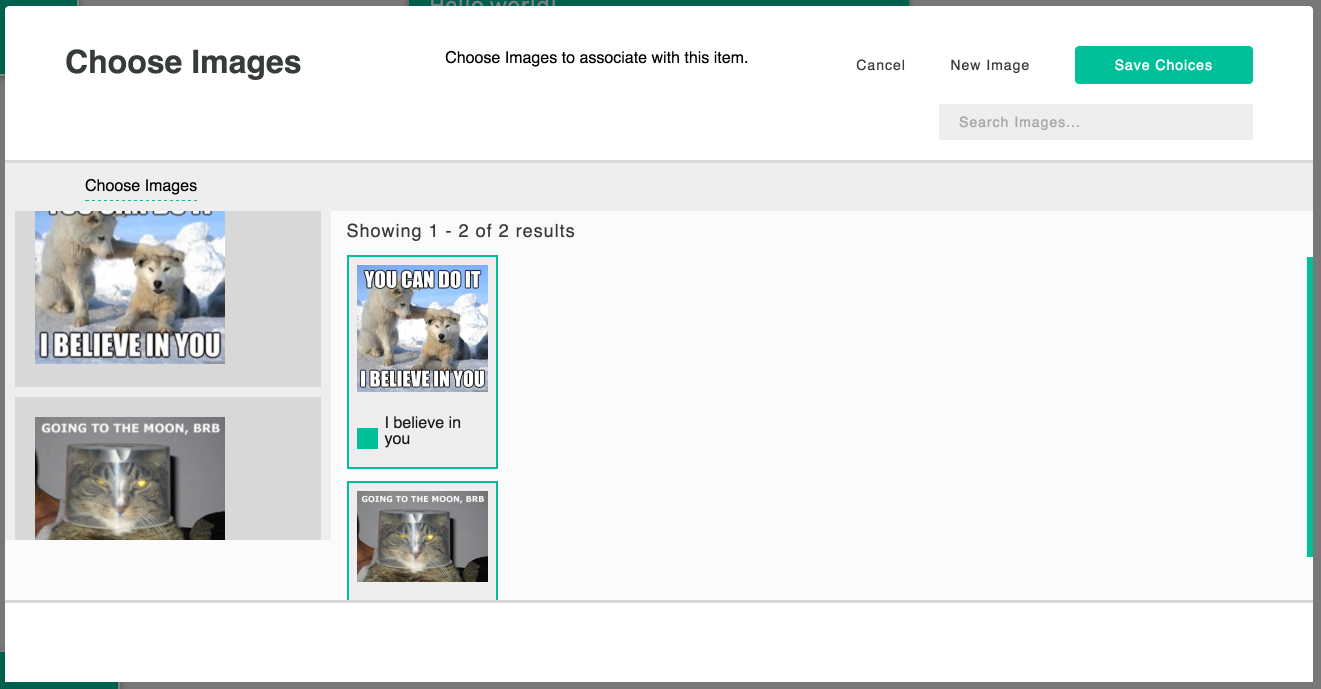
(As you check them off you'll see them appear at left in the "chosen items" area.)
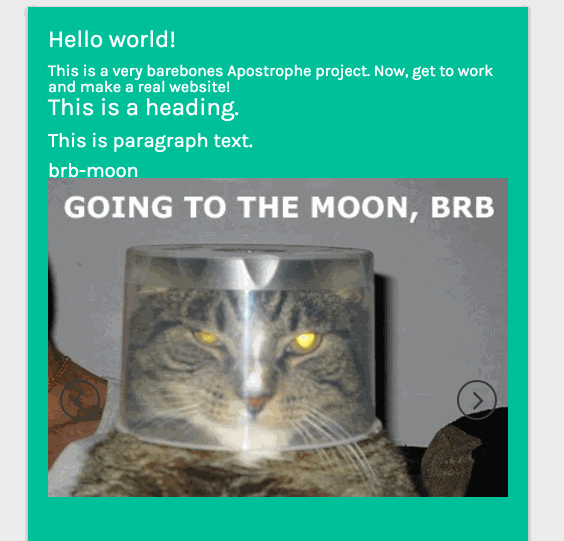
Now click "Save Choices" and boom: slideshow!
# "Whoa, this is cool! But... what did I just do?"
Great question! Now that you've gotten a glimpse of Apostrophe, let's slow down and take it step by step in Core Concepts.